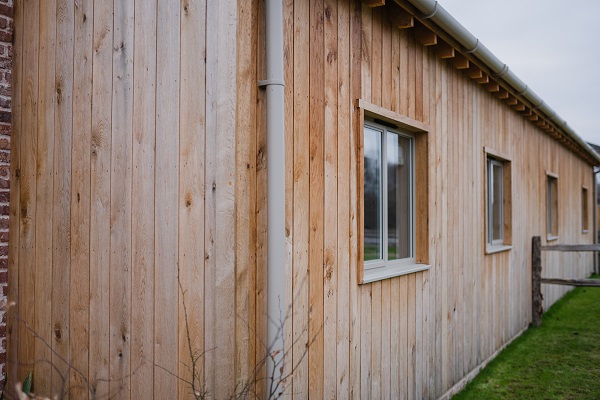
Oak square edge cladding
Product Code: C-000078£48.11 per m² ex. vat
Lengths available:
- 1000mm
Enter your cladding area for estimate price:
Area
Price (Based on 1000mm)
Contact our experts for a price including delivery and recommended fixings:


We believe in the power of premium materials to transform spaces, inside and out.

We strive to deliver your products as promptly as possible, so you can start enjoying them right away.

Our customers are at the heart of everything we do. That’s why we are proud to showcase our Trustpilot reviews.

Shopping with us is straightforward and stress-free. Our dedicated team is just a call or email away if you need assistance.
This cladding is available in continuously changing lengths , please give us a call to discuss your requirements|Square edge profile 18mm thick x 190mm +/- 10mm wide|Priced per linear metre|Various lengths depending on stock available|Cladding for oak framed buildings, houses, garages, stables, garden rooms & pergolas|Our Oak featheredge is usually ordered direct from the supplier at the point of order|Lead time - 2-4 weeks
Cladding is an increasingly popular method for giving your home, office or garden a lift. Comes in various lengths.
Our well-organized delivery system ensures your hardwood cladding arrives promptly and in pristine condition. Depending on your location, delivery charges are calculated based on the distance, length, and weight of the materials. Whether using external couriers or our own fleet of vehicles, we take every care to ensure your order is handled safely. For more details, please see our Delivery Terms & Conditions.
Overview: Choosing the Right Profile
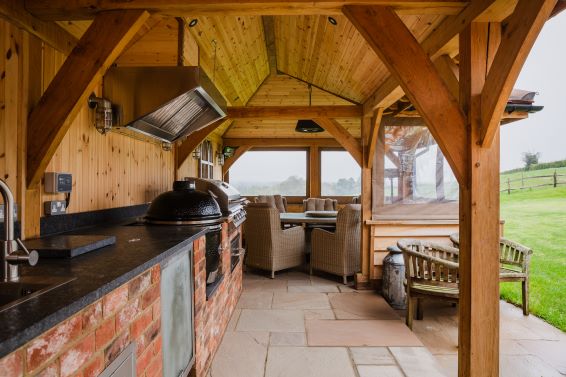
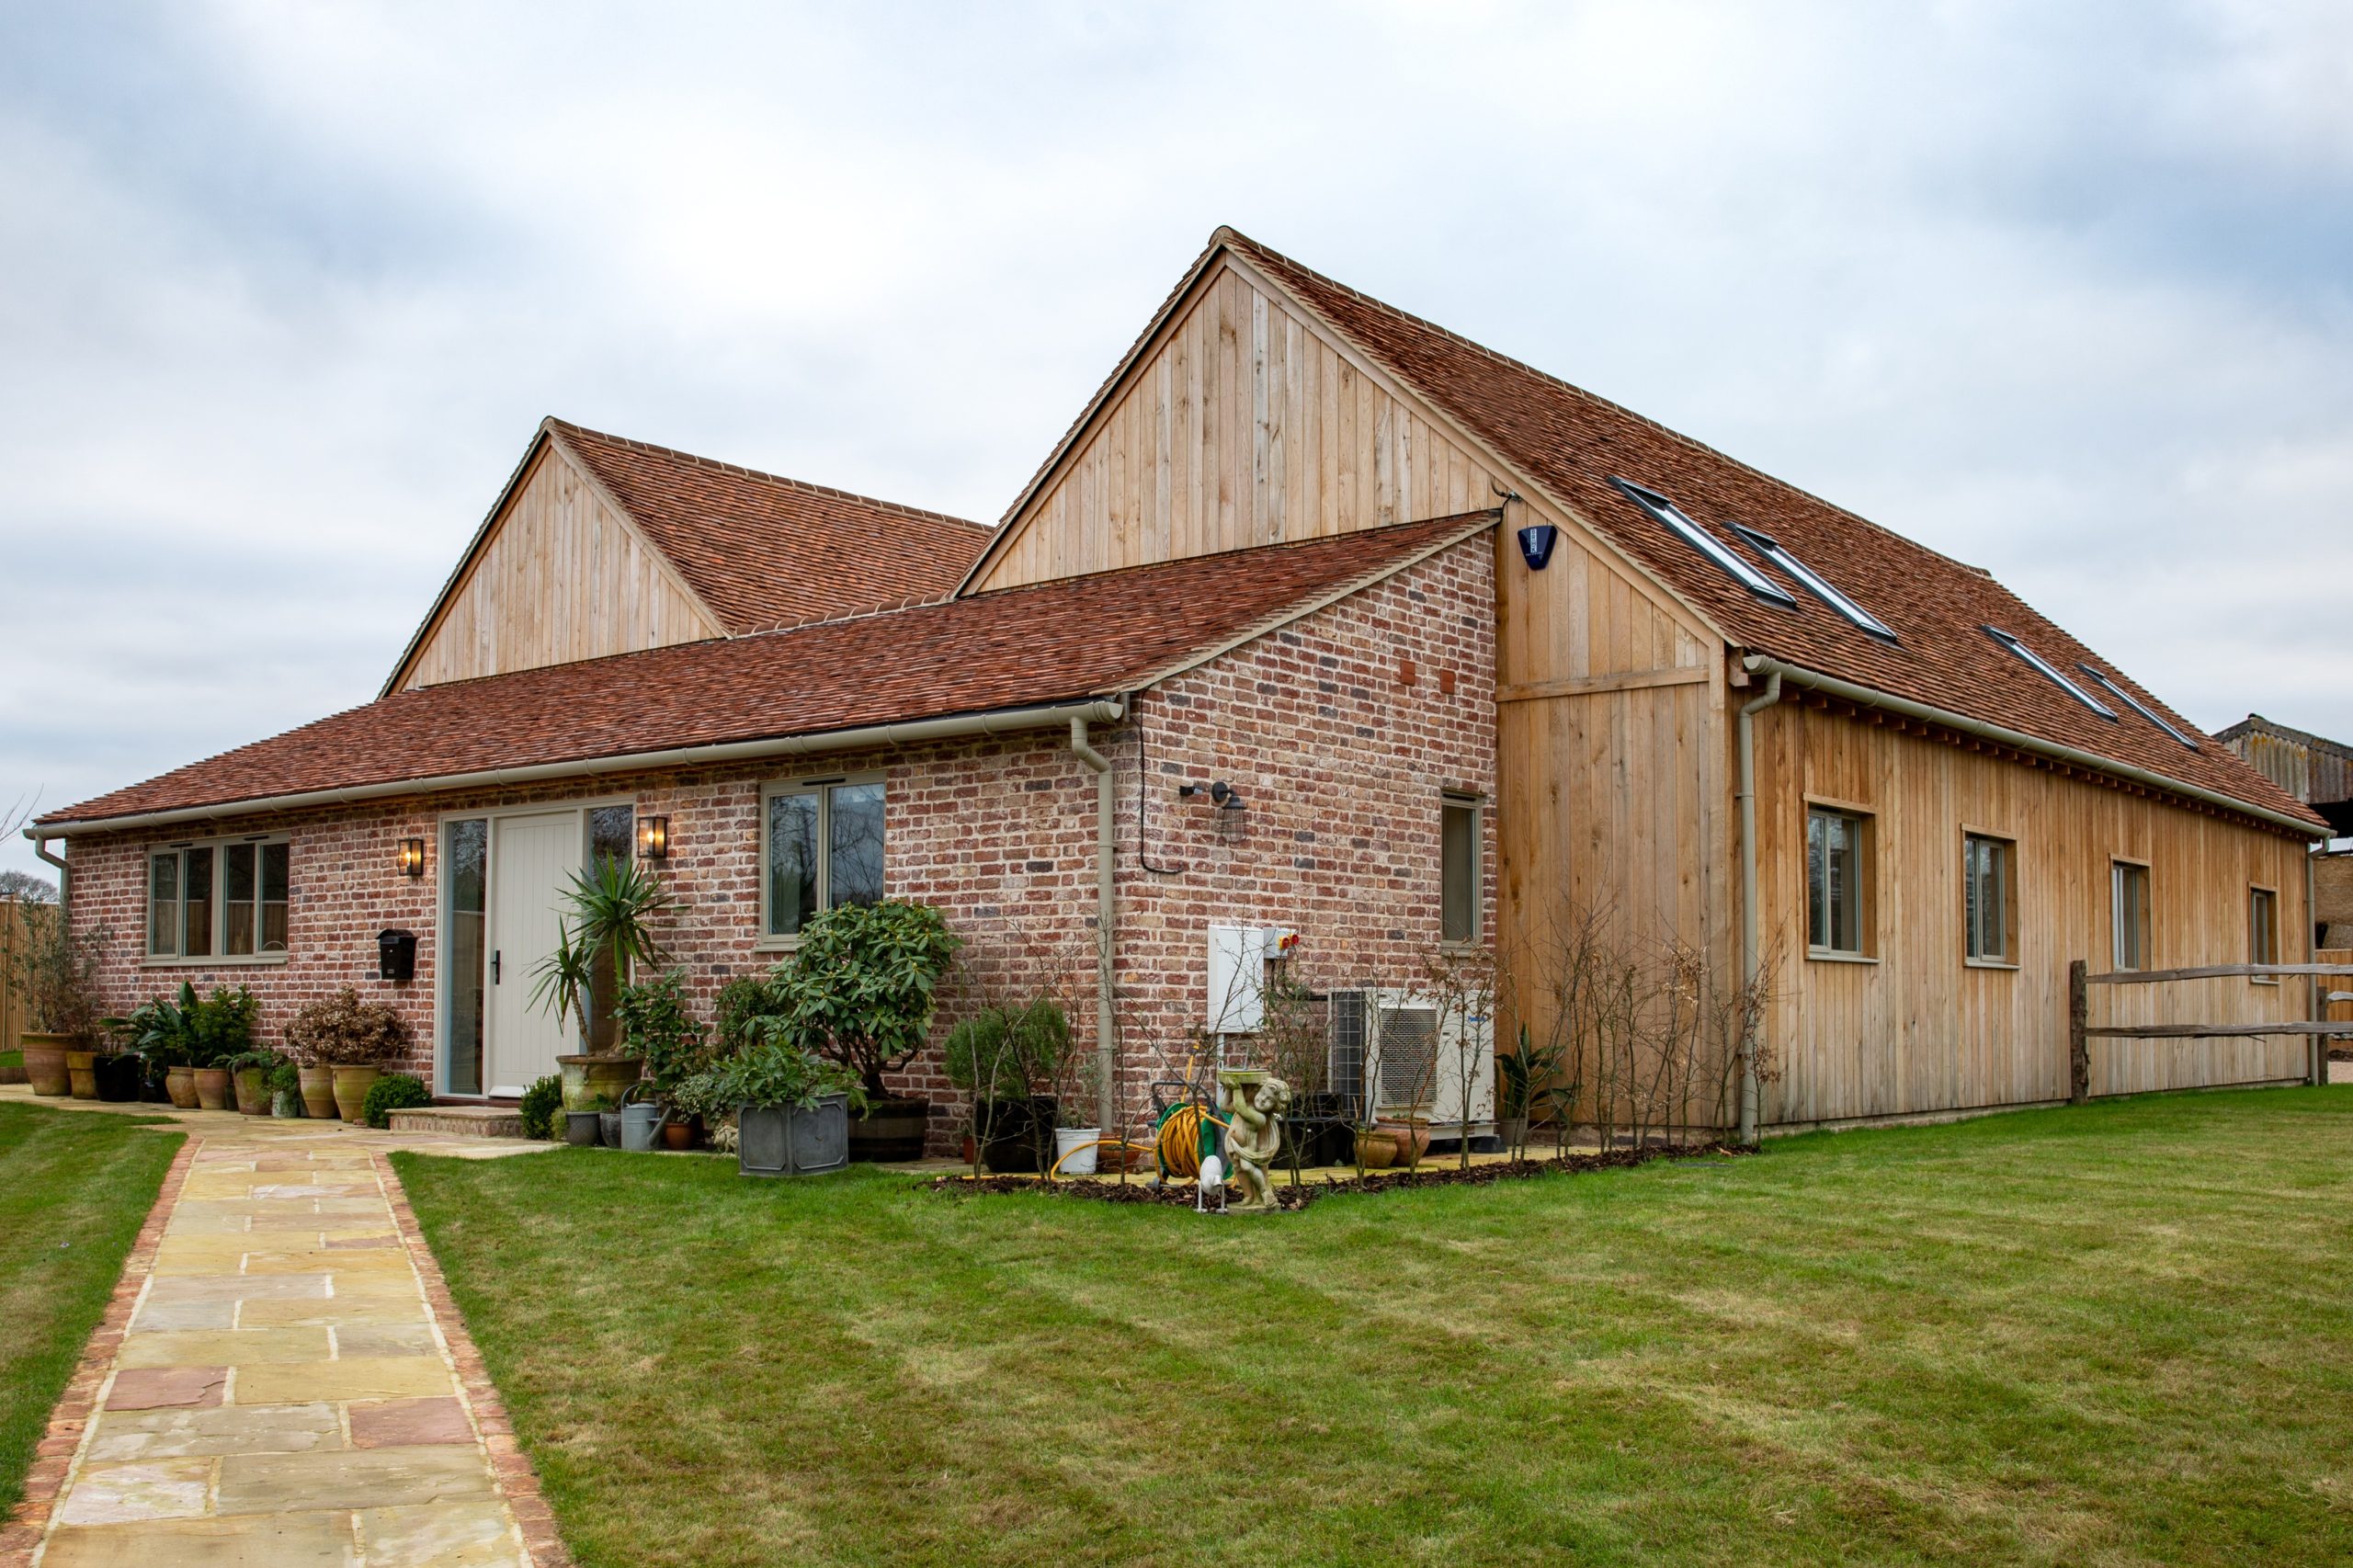
Hardwood cladding offers a durable and visually striking finish for exterior and interior applications. The installation method depends on the profile selected—shiplap, shadow gap, or PAR battens—each with its own aesthetic and fixing requirements. Proper preparation and installation are essential to ensure longevity, weather resistance, and a clean finish.
Preparation and Acclimatisation
Before installation, allow the hardwood boards to acclimatise on-site for at least 7–10 days. Store them flat, off the ground, and protected from direct sunlight and moisture. Ensure the wall structure is weatherproof and that battens or counter battens are installed to allow for ventilation behind the cladding.
Fixing Methods
Secret Fixing
Ideal for shiplap and shadow gap profiles, secret fixings provide a clean, uninterrupted surface. Stainless steel screws or nails are inserted through the tongue or rebate, hidden by the next board.
Face Fixing
Common with PAR battens or where a more industrial look is desired. Use stainless steel screws with colour-matched heads or timber plugs for a neater finish. Always pre-drill hardwood to prevent splitting, and use fixings suitable for exterior use.
Installing Shiplap Cladding
Shiplap boards overlap to create a weatherproof seal:
- Start from the bottom and work upwards, ensuring each board overlaps the one below by the full rebate depth
- Maintain a consistent expansion gap (typically 2–3 mm) between boards
- Use secret fixings through the rebate or face fixings if preferred
Installing Shadow Gap Cladding
Shadow gap cladding creates a modern, linear look with a defined gap between boards:
- Boards are typically fixed with hidden screws through the tongue or rear rebate
- Use spacers or a jig to maintain a consistent gap (usually 6–10 mm)
- Ensure vertical alignment and level spacing throughout
Installing PAR Batten Cladding
PAR (Planed All Round) battens are square-edged and can be installed horizontally, vertically, or diagonally:
- Fix directly through the face into battens behind, maintaining even spacing between boards for visual effect and airflow
- This profile is often used for decorative or screening purposes
Ventilation and Drainage
All profiles require adequate ventilation behind the cladding to prevent moisture build-up:
- Use insect mesh at the base and top of the cladding to allow airflow while keeping pests out
- Ensure a drainage path is maintained at the bottom of the cladding system
Need Help?
While professional installation is advised for best results, we’re here to support DIYers with profile-specific advice and technical drawings. Contact us for tailored guidance to suit your project.
Care & Maintenance Guide for Oak Cladding
Introduction
Oak cladding adds natural warmth and elegance to any building. Whether used indoors or outdoors, proper care ensures longevity, color retention, and structural integrity. This guide covers essential cleaning, protection, and maintenance practices for oak cladding.
1. Initial Treatment
- Apply Protective Finish
Use a UV-resistant oil or stain immediately after installation to prevent discoloration from sunlight. - Seal End Grains
Apply end-grain sealer to reduce moisture absorption and prevent splitting.
2. Regular Cleaning
- Exterior Cladding
Wash annually with mild soap and water using a soft brush. Rinse thoroughly. - Interior Cladding
Dust regularly and wipe with a damp cloth. Avoid harsh chemicals.
3. Protect Against Moisture
- Ensure proper ventilation behind cladding to prevent trapped moisture.
- Check for blocked drainage or ventilation gaps periodically.
4. UV Protection
- Reapply UV-protective oil or stain every 2–3 years for exterior cladding.
- For interior cladding, reapply finish as needed to maintain appearance.
5. Inspect and Repair
- Check for loose boards, cracks, or signs of rot annually.
- Replace damaged boards promptly to prevent further deterioration.
6. Avoid Common Mistakes
- Do not use pressure washers—they can damage the wood fibers.
- Avoid film-forming finishes (like varnish) outdoors; they can peel over time.
Extra Tips
- For a natural silver-grey weathered look, skip UV protection—but expect faster color change.
- Use stainless steel fixings to prevent staining from rust.
Pros & Cons vs Thermo-Treated Timber
Pros
- Rich, natural appearance.
- Can be refinished for a fresh look.
- Adds premium value to property.
Cons
- Requires more maintenance than thermo-treated timber.
- Sensitive to UV and moisture without proper protection.