Canadian Larch - Batten - Eased Edges - 40 x 18mm
Product Code: C-000500£62.08 per m² ex. vat
Lengths available:
- 5500mm
- 6100mm
Enter your cladding area for estimate price:
Area
Price (Based on 5500mm)
Contact our experts for a price including delivery and recommended fixings:


We believe in the power of premium materials to transform spaces, inside and out.

We strive to deliver your products as promptly as possible, so you can start enjoying them right away.

Our customers are at the heart of everything we do. That’s why we are proud to showcase our Trustpilot reviews.

Shopping with us is straightforward and stress-free. Our dedicated team is just a call or email away if you need assistance.
10mm spacing between battens
Our efficient delivery system ensures your softwood cladding reaches you in excellent condition and on time. Delivery charges are calculated based on your postcode, the size, and the weight of your order. Whether we use external couriers or our own fleet of vehicles, we take great care in packaging and handling. For more information, please see our Delivery Terms & Conditions.
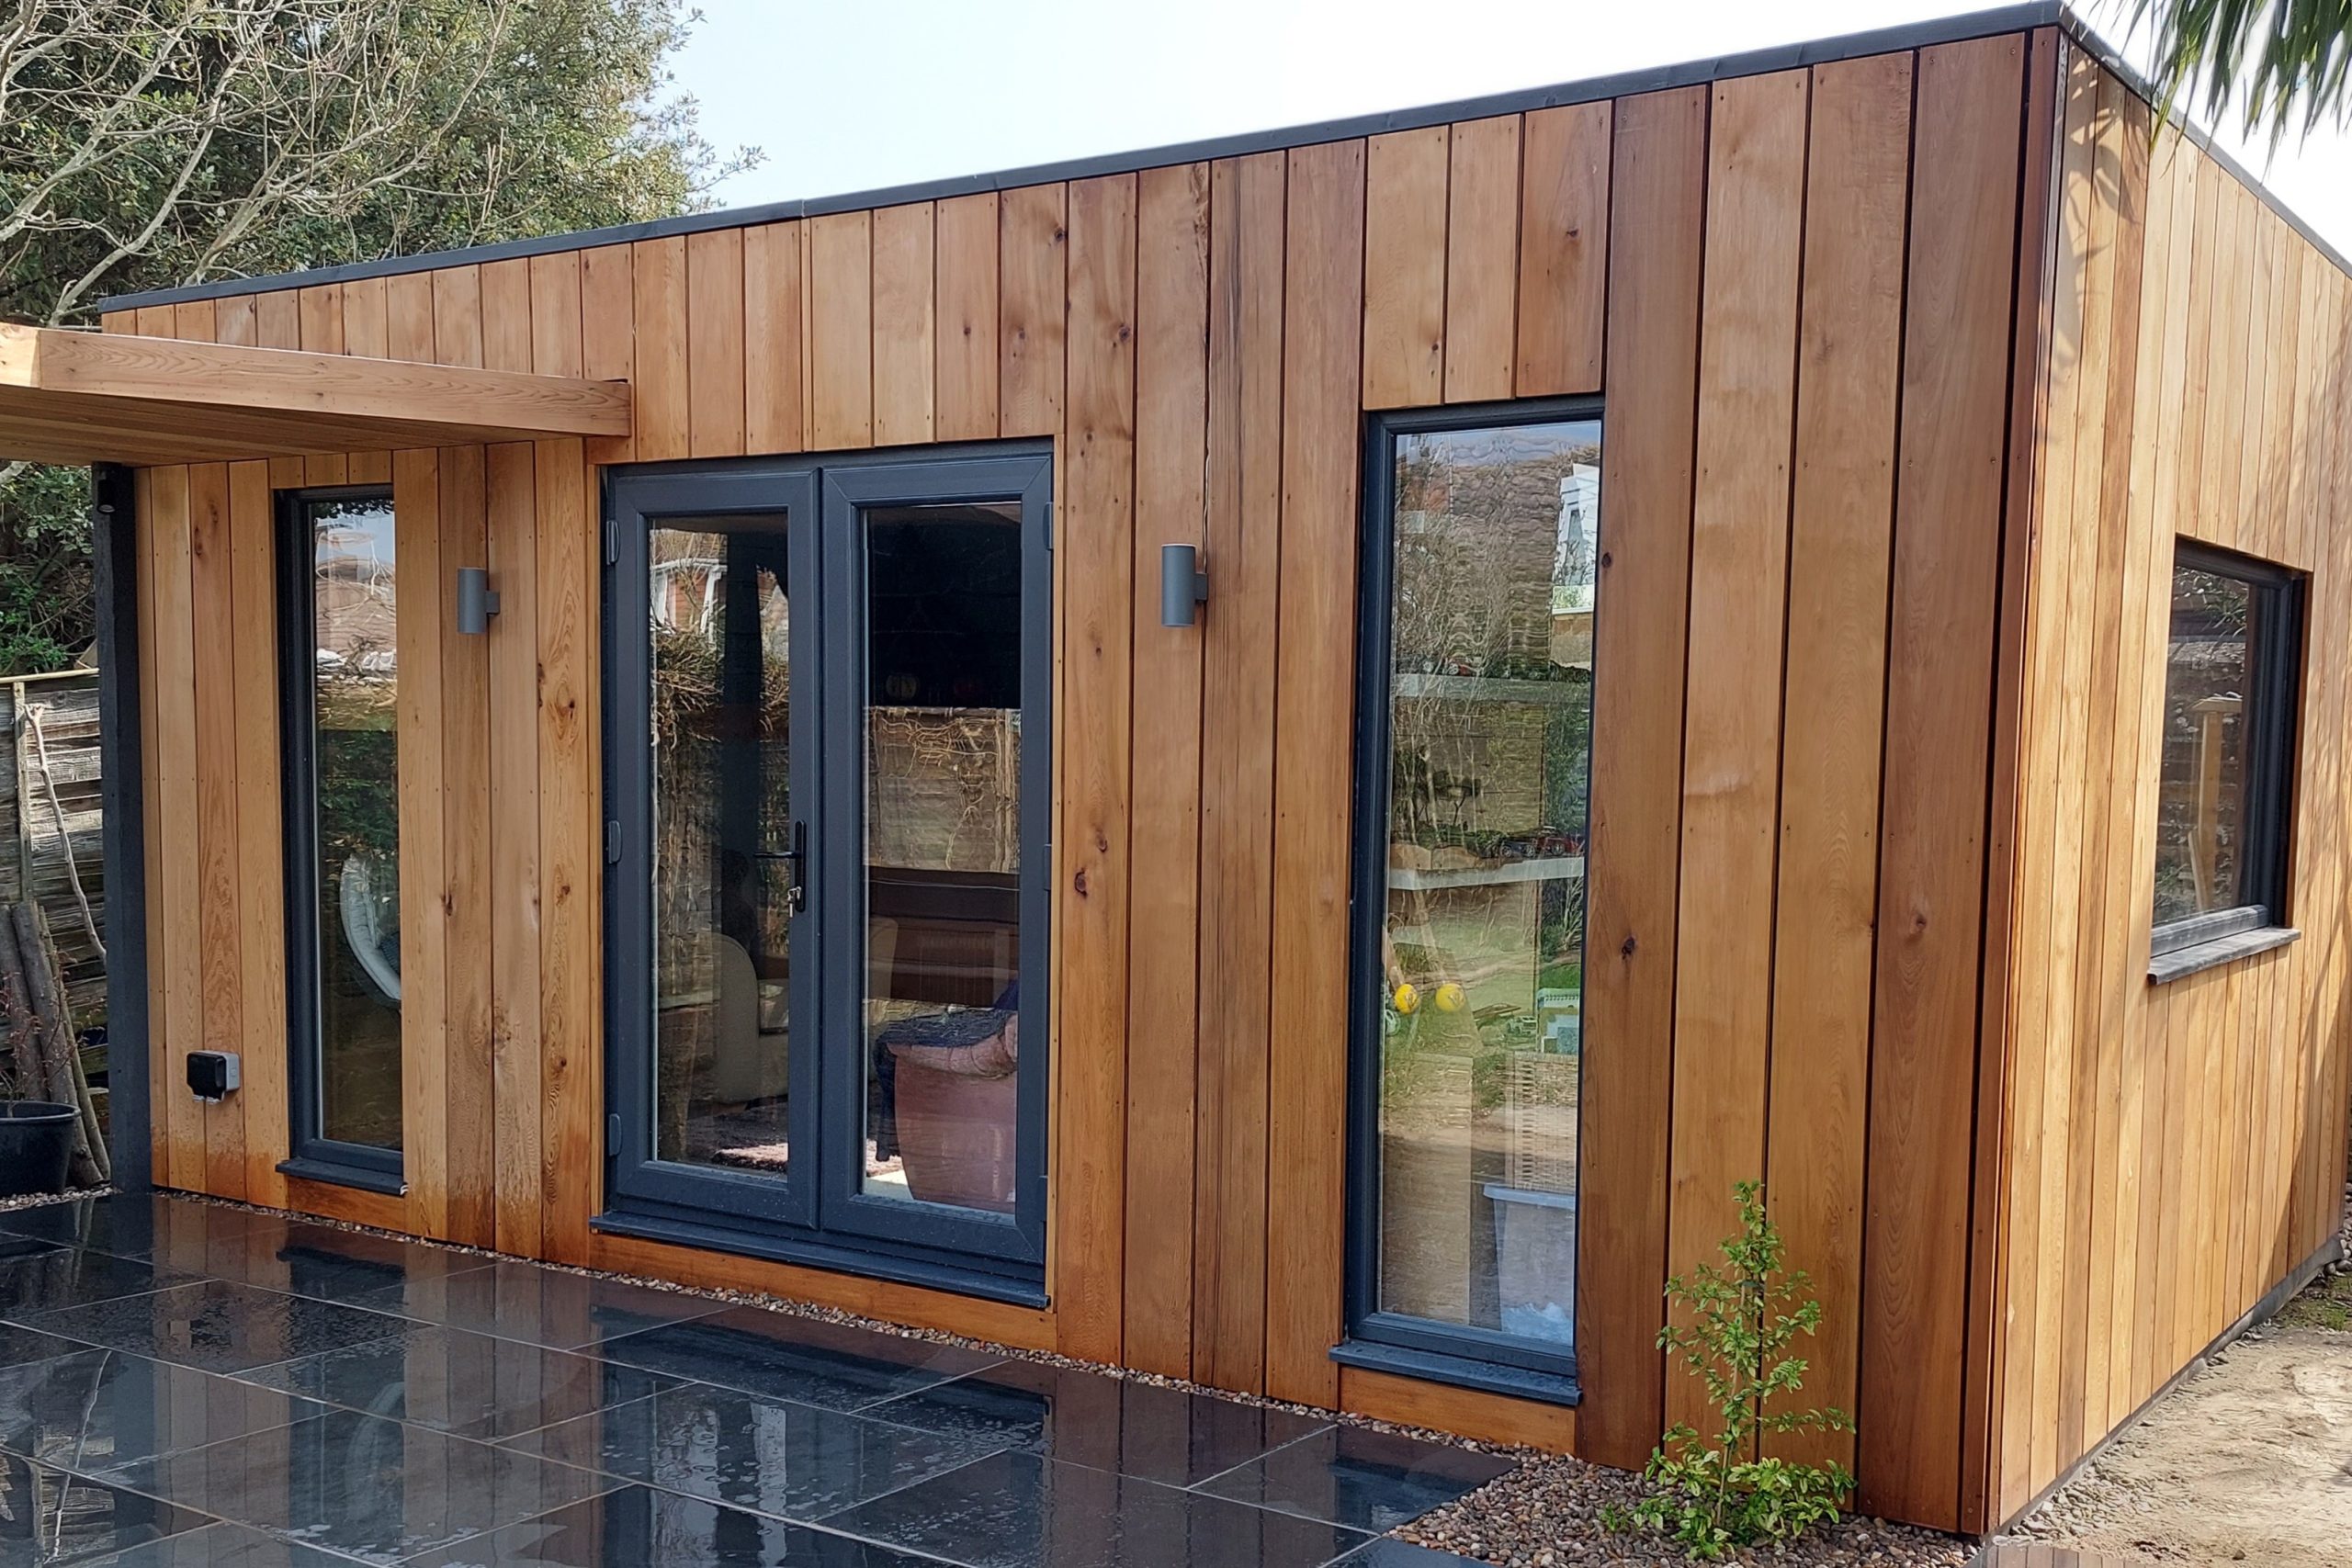
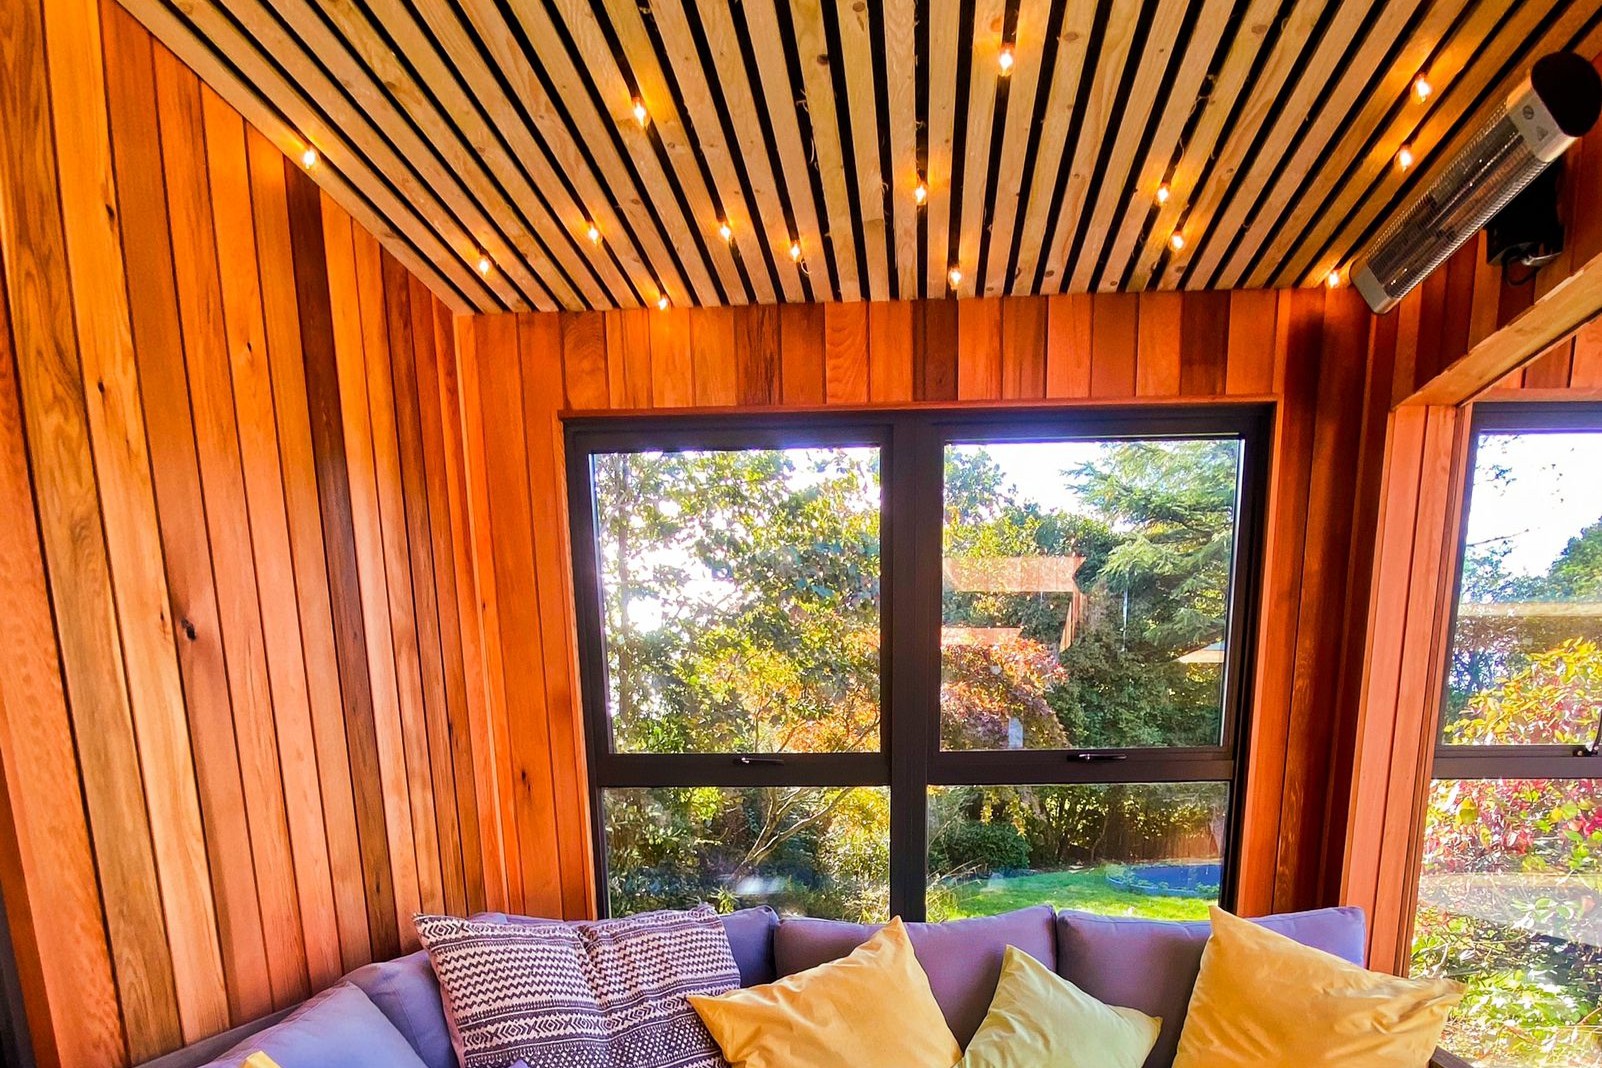
Guide to Installing Timber Batten Cladding
Timber batten cladding is a stylish and versatile way to add texture and warmth to any façade or interior wall. Proper installation ensures durability, aesthetic appeal, and compliance with building standards. Follow this step-by-step guide:
1. Preparation
- Check the Surface: Ensure the wall or frame is straight, dry, and structurally sound.
- Moisture Barrier: Install a breathable membrane or vapour barrier to protect against moisture ingress.
- Battens & Spacing: Decide on batten size and spacing (commonly 10–30 mm gaps). Mark layout lines for consistency.
2. Tools & Materials
- Timber battens (pre-treated for durability)
- Stainless steel or galvanized screws/nails
- Spirit level and chalk line
- Drill and driver
- Spacers for uniform gaps
- Protective finish (oil, stain, or sealant)
3. Installation Steps
Step 1: Fix Support Battens
- Attach vertical or horizontal support battens to the wall using corrosion-resistant fixings.
- Ensure they are level and spaced according to your design.
Step 2: Position Timber Battens
- Start from one corner or edge.
- Use spacers to maintain consistent gaps between battens.
- Check alignment regularly with a spirit level.
Step 3: Secure Battens
- Fix battens through the thickest section using screws or nails.
- Pre-drill holes to prevent splitting.
- For concealed fixing, use clips or rear-mounted brackets.
Step 4: Expansion Gaps
- Leave a 5–10 mm gap at ends and joints for timber movement.
- Avoid tight joints to prevent warping.
4. Finishing
- Apply protective coating (UV-resistant oil or stain) to enhance longevity.
- Reapply finish periodically as per manufacturer’s recommendations.
5. Maintenance Tips
- Inspect annually for loose fixings or weathering.
- Clean with mild soap and water; avoid harsh chemicals.
- Recoat timber every 12–24 months for optimal protection.
Safety & Compliance
- Follow local building codes and fire safety regulations.
- Use treated timber for external applications to prevent rot and insect damage.
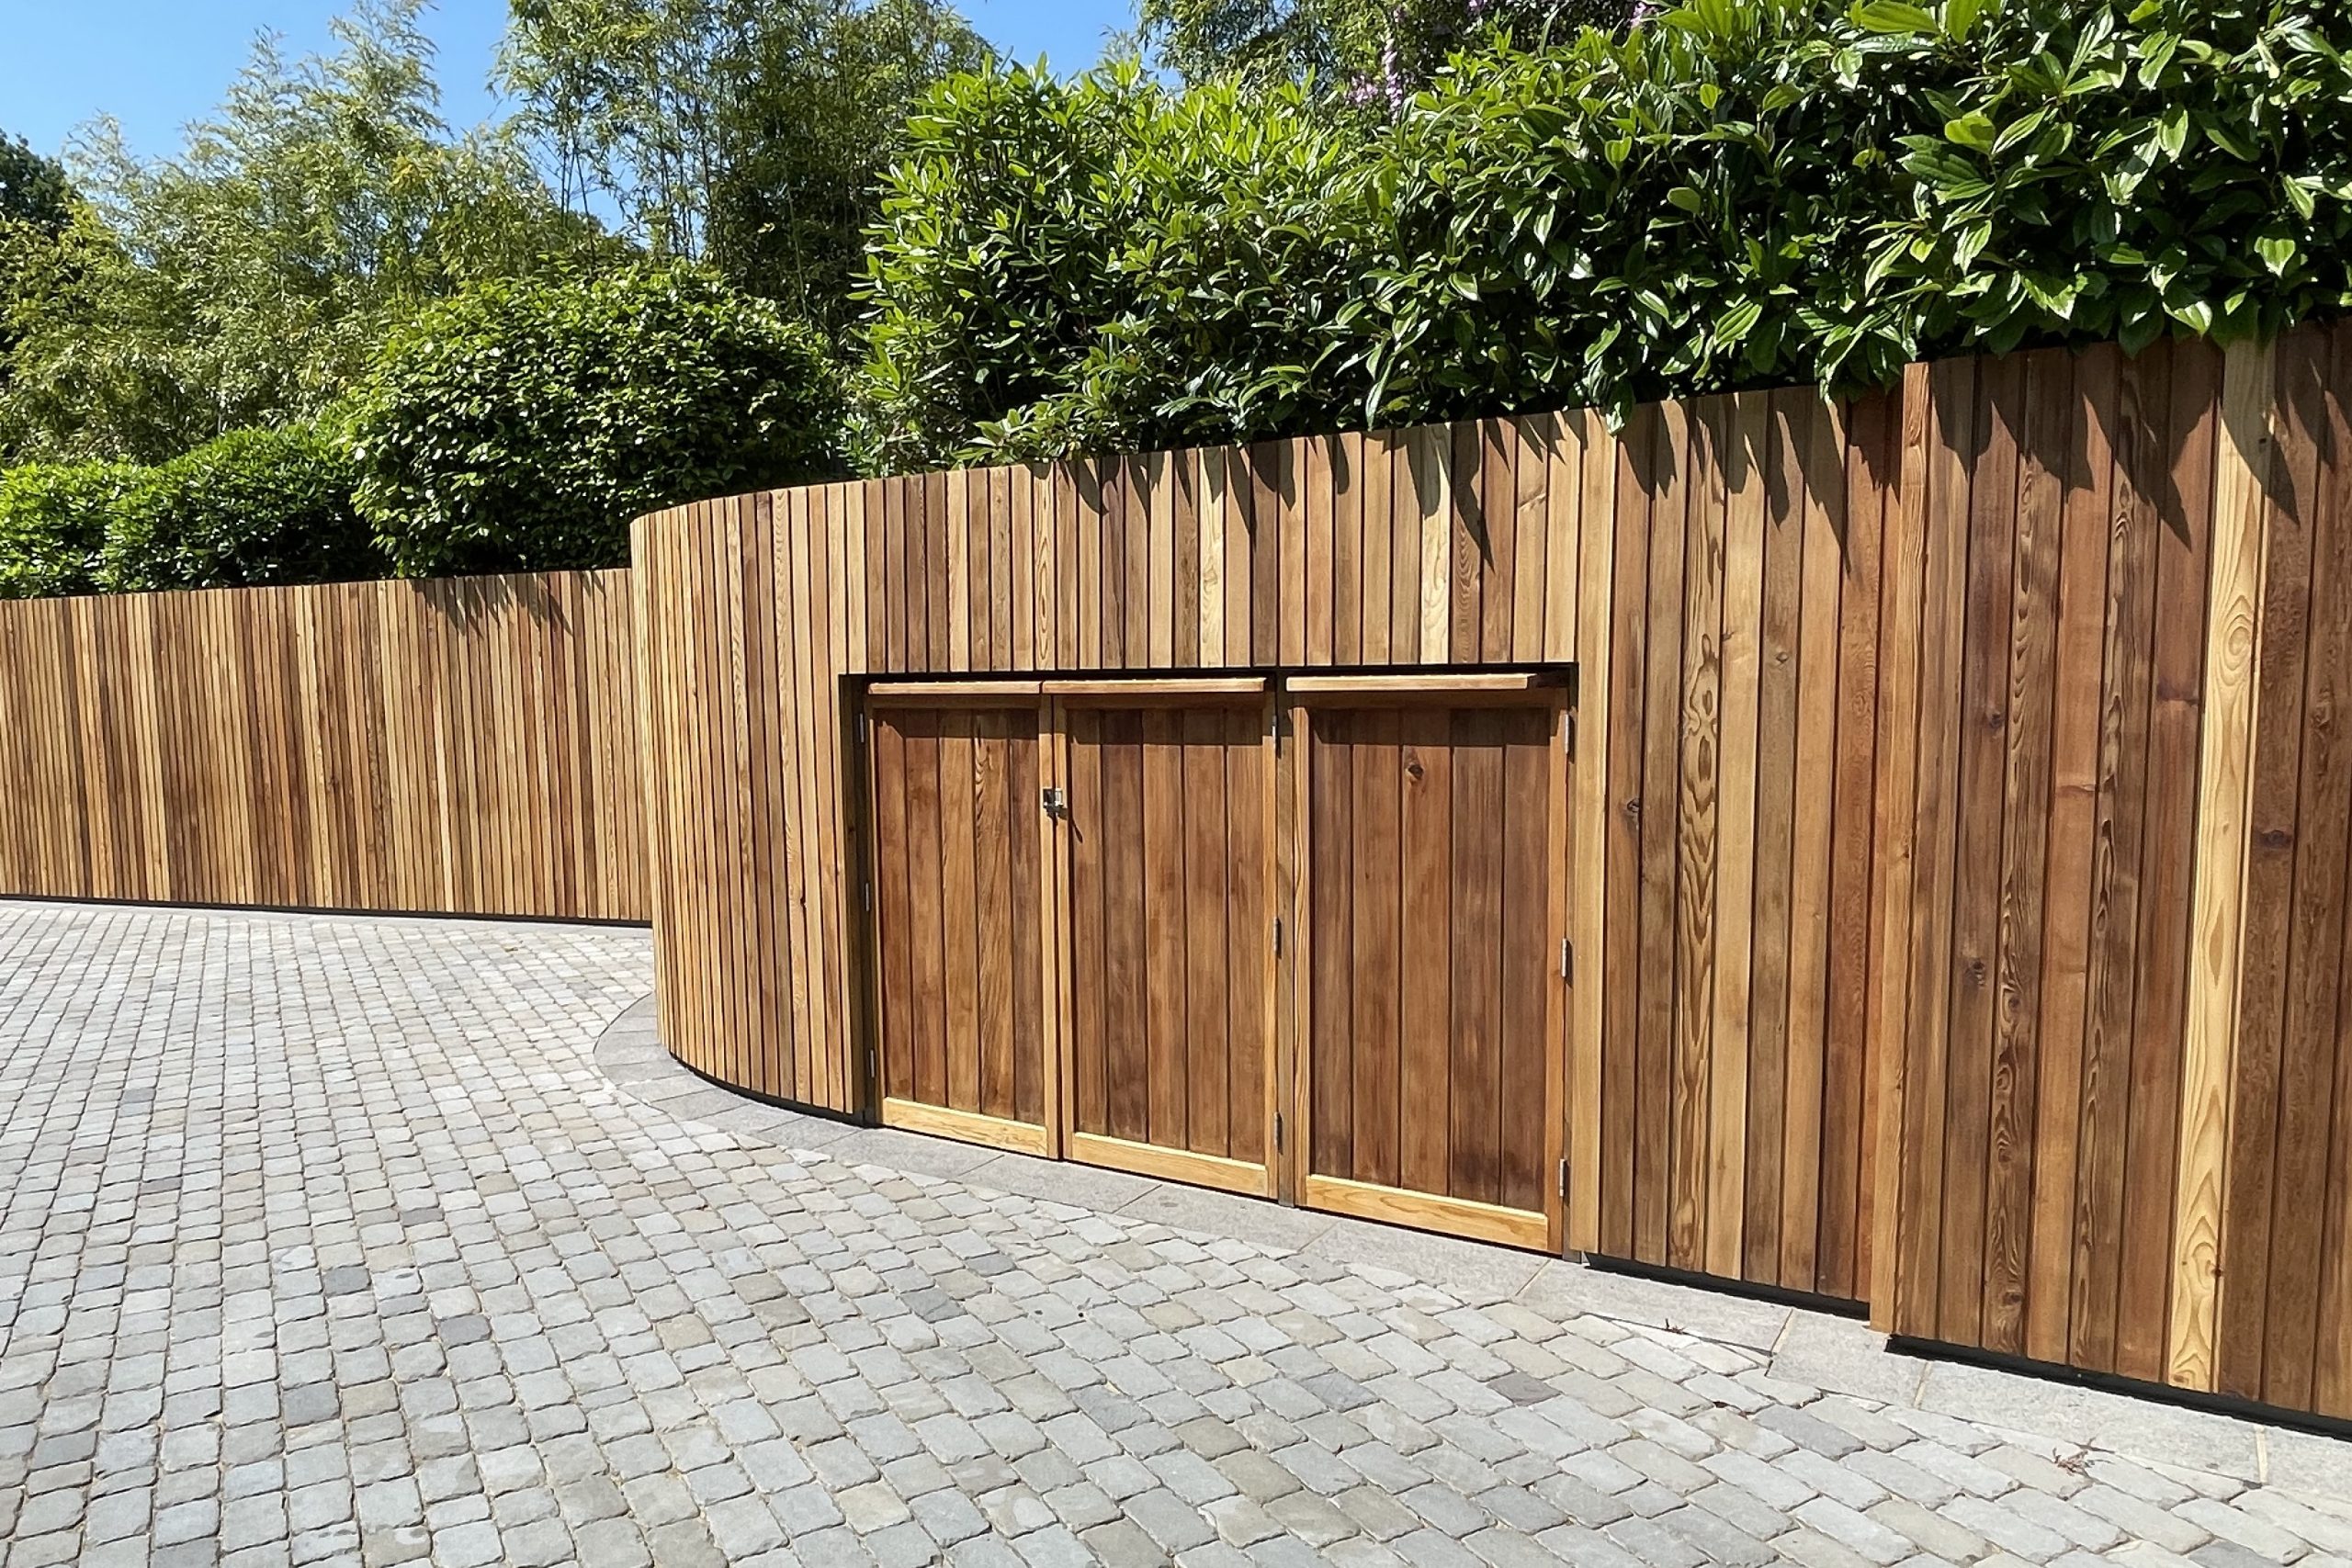
Care and Maintenance of Canadian Larch Cladding and Decking
Canadian Larch is a premium timber choice for exterior cladding and decking thanks to its durability, strength, and natural beauty. To keep your larch looking great and performing well for decades, follow these expert care and maintenance tips.
Why Choose Canadian Larch?
Canadian Larch is naturally resistant to decay and weathering, making it ideal for outdoor applications. Its warm golden tones add character to any project, and with proper care, it can last for generations.
1. Initial Treatment
- Pre-Installation Protection: Apply a high-quality UV-resistant oil or stain to all faces and edges before installation.
- Factory Finish Option: If available, select boards that have been factory-treated for added protection.
2. Natural Weathering
- Untreated Canadian Larch will weather to a beautiful silver-grey patina over time.
- To maintain its original warm tone, regular application of protective finishes is essential.
3. Cleaning Routine
- Frequency: Clean at least once a year.
- Method: Use a soft brush and mild soap solution. Avoid pressure washing or harsh chemicals that can damage timber fibers.
4. Re-Oiling Schedule
- Cladding: Reapply UV-protective oil every 12–18 months depending on exposure.
- Decking: High-traffic areas may need re-oiling every 6–12 months.
- Always clean and dry surfaces before reapplication.
5. Annual Inspection
Check for:
- Loose fixings
- Splits or cracks
- Signs of rot or insect damage
Replace damaged boards promptly to prevent further deterioration.
6. Drainage & Ventilation
- Ensure airflow behind cladding and beneath decking.
- Keep gaps clear of debris for proper water drainage.
7. Winter Care
- Remove snow and ice promptly.
- Avoid salt or chemical de-icers that can stain or damage timber.
8. Sustainability
Canadian Larch is naturally durable, and proper maintenance extends its lifespan, reducing environmental impact and replacement costs.
Keywords:
- Canadian Larch care
- Larch cladding maintenance
- Larch decking treatment
- How to protect larch timber
- Exterior timber care guide